
Last updated October 16, 2026
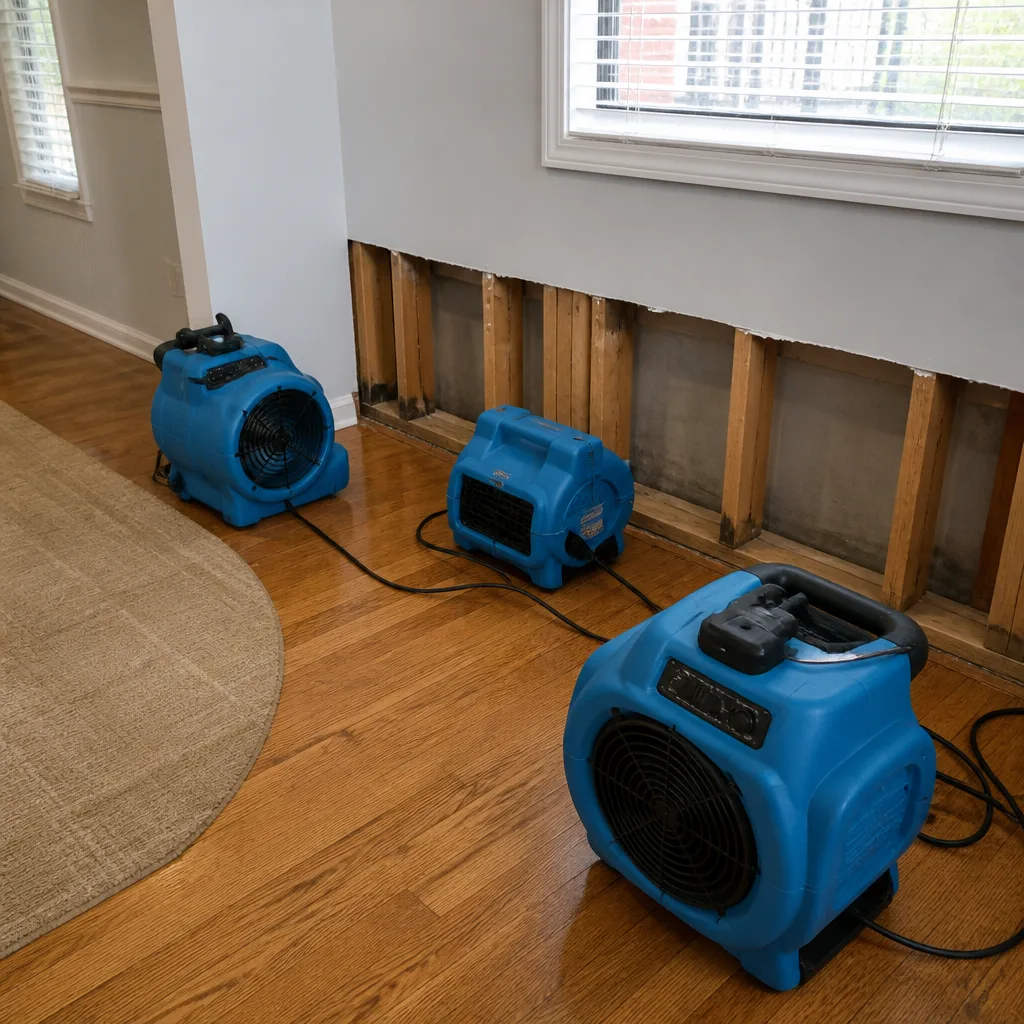 Water damage drying
 Fire & smoke cleanup
 Mold remediation
 Storm response
 Sewage cleanup
 Reconstruction
Free visual inspection and a written scope of work before any mitigation begins - photos, moisture readings, and drying logs go in your claim file
The scope we write is the scope we bill. Anything new gets shown to you, in writing, before we touch it.
Get your free estimateWater Damage Restoration Maintenance Checklist for Miami Homeowners
The number-one cause of water damage claims in South Florida isn’t hurricanes. It’s slow, hidden plumbing leaks that go unnoticed for weeks. A simple moisture reading behind the washing machine could have caught 60% of them. In Miami, where humidity hovers above 70 percent most of the year and construction styles range from 1940s coral rock to glass high-rises, the failure points are specific, predictable, and almost entirely preventable. This guide is a room-by-room maintenance checklist built for Miami homes, not a generic suburban house in Ohio. For a deeper dive, see The Complete Guide to Damage Restoration in Miami. You’ll learn which checks matter most, when to do them, what tools you need, and how to document everything so a $400 fix never becomes a $14,000 restoration.
Restoration work we handle
Quick Answer
The core of Miami water damage prevention is a twice-yearly walkthrough that checks appliance supply lines, AC condensate drainage, water heater connections, and exterior drainage, done before hurricane season in June and again in November after storm season ends. Each check takes under 20 minutes. The most important tool is a $30 consumer moisture meter, which catches hidden moisture behind walls and under cabinets weeks before mold forms or structural damage spreads.
Table of Contents
- Miami-Specific Risks: Why This Checklist Is Different
- Tools You Need (All Under $50 Total)
- The Twice-Yearly Walkthrough: A Step-by-Step Routine
- Room-by-Room Checklist for Miami Homes
- The Three Appliance Connections That Fail Most in Miami
- Seasonal Timing: What to Check When
- What to Document Now (And Why Your Insurance Claim Depends on It)
- Common Mistakes to Avoid
- When to Call a Professional
- Frequently Asked Questions
- The Bottom Line
Miami-Specific Risks: Why This Checklist Is Different
Miami’s housing stock breaks into three distinct construction types, and each one fails differently. If you’re in a CBS home (concrete block and stucco), which covers most of Westchester, Kendall, and Hialeah, your walls resist water intrusion from outside, but the stucco exterior develops hairline cracks over time that let wind-driven rain seep behind the finish during tropical storms. If you’re in an older wood-frame house, common in Miami Beach, Coconut Grove, and Shenandoah, your biggest risk is elevated moisture in the crawl space or under the house, where warm humid air meets cooler interior framing and condenses. If you’re in a high-rise condo, especially in Brickell or Edgewater, your unit’s drain lines, AC condensate pans, and water heater closet become the weak points because a failure in your unit affects the units below you, and the building’s master insurance policy rarely covers your interior finishes.
There’s also the humidity factor, which most generic checklists ignore. In Miami, the outdoor dew point stays above 72 degrees for most of the year. Any interior surface below that temperature, and you get condensation, then mold. That’s why we include AC condensate line checks as a core item on a water damage prevention list. A clogged condensate line in a Miami attic or utility closet can overflow and drip onto drywall for weeks before anyone notices. By the time the ceiling stain shows, the repair has already gone from a $250 HVAC service call to a $4,000 drywall and mold remediation job. Our water damage restoration team in Miami sees this exact scenario multiple times a week during the dry season.
Tools You Need (All Under $50 Total)
You don’t need a truck full of equipment to do this properly. The professionals who work to IICRC standards use psychrometric drying, which means they measure relative humidity (RH) and moisture content in materials to know exactly where water is hiding and when it’s actually dry. You can apply the same principle at home with a few inexpensive tools.
- Moisture meter ($25 – $40): A pin-type meter with two small prongs that press into drywall, wood, or grout. Look for one that reads both wood and building materials. This is the single most important tool on this list. A normal drywall reading is under 5 percent. Anything over 15 percent is a problem worth investigating.
- Flashlight (any): The brighter the better. Use it to inspect the dark space behind appliances, under cabinets, and inside the water heater closet. Water stains show up better under direct light than ambient room light.
- Paper towels or plain white cloth (free): Press them against suspected areas. If they come away damp, you have active moisture. If they come away dry but the meter reads high, you have trapped moisture inside the material, which is worse.
- Notepad or notes app on your phone (free): Date and photo everything. Your notes become part of your insurance documentation if something fails later.
- Bucket and a small mirror ($10 total): The mirror lets you see behind toilets and under sink cabinets without contorting. The bucket catches water when you test the washing machine shutoff valve, which often drips on first turn after months of not being touched.
None of this is specialized. The point is consistency, not precision. You’re looking for change over time. A drywall reading of 8 percent on a bathroom wall in June and 11 percent in November is not an emergency, but it’s a signal that something behind that wall is slowly getting wetter, and that’s exactly the early warning most Miami homeowners never get.
The Twice-Yearly Walkthrough: A Step-by-Step Routine
Set a calendar reminder for the first weekend in June and the second weekend in November. These dates line up with the Florida hurricane season boundaries, and each season has its own priorities. Here’s the routine that catches problems early in Miami homes:
- Turn off the main water supply briefly. This takes 60 seconds and tells you whether your shutoff valve works. If you can’t turn it by hand, that’s a problem. When a pipe bursts in a Miami home, the difference between a $2,000 repair and a $14,000 restoration is often whether someone could shut off the water in two minutes or twenty. If your valve is stuck, call a plumber to replace it now, not after an emergency.
- Check the water heater closet. Look at the floor under the tank for rust flakes, water stains, or warped vinyl. Check the temperature and pressure relief valve (T&P valve), the small lever on the side or top of the tank, by lifting it briefly and listening for water discharge. If it doesn’t reseat or continues dripping, the valve is failing. Check the cold water inlet connection at the top of the tank for white mineral deposits, which signal a slow leak that’s been evaporating.
- Inspect every visible water connection in the kitchen and bathrooms. Run a finger along the compression nut under each sink. Compression nuts are the hexagonal fittings where the flexible supply line connects to the shutoff valve and the faucet. If you feel moisture or see green corrosion, the rubber washer inside is dry-rotted and needs replacement, a $3 part and a 10-minute fix that prevents a slow leak from soaking your cabinet base for months.
- Press the moisture meter into the drywall under every window and at the base of every exterior wall. In Miami, wind-driven rain gets past window frames and sills more often than people realize, especially on east-facing walls. Take three readings per wall: one at the sill, one at mid-wall, one at the floor line. Note any reading above 10 percent and recheck it in a month.
- Pour a cup of water into the AC condensate drain line. On most Miami homes, this is a small PVC pipe near the indoor air handler. If the water doesn’t flow freely or pools instead of draining, the line is clogged with algae and sludge. This is a $100 professional flush, or a DIY job if you’re comfortable with basic tools, and it prevents the single most common attic water leak in South Florida.
- Pull the washing machine out from the wall far enough to see the hoses. Look for bulges, cracks, or a chalky white residue on the rubber. Check where the hose meets the machine and where it meets the wall valve. Feel the floor under the hose connections for softness. This is the most common source of slow interior water damage we see in Miami, and it’s almost always preventable with a visual check every six months.
- Walk the exterior of the house. In Miami, this means checking that downspouts extend at least three feet from the foundation, that grading slopes away from the house, and that no soil or mulch is piled against the stucco. Check the roof edge and gutters if visible. During the dry season, also look for signs that irrigation heads are spraying against the exterior walls, which causes the same slow deterioration as a plumbing leak.
This whole routine takes about 20 minutes if you do it once. The second time feels like 10. The cost of the tools is under $50. Compare that to the average water damage restoration bill, which in Miami regularly runs $4,000 to $14,000 depending on the extent, and the math speaks for itself.
Room-by-Room Checklist for Miami Homes
Kitchen
The kitchen is the highest-risk room in any Miami home because it combines three separate water sources: the sink, the refrigerator ice line, and the dishwasher. The sink is the usual suspect, but it’s the refrigerator ice line that causes the most expensive damage. It’s a small plastic or copper tube, usually 1/4 inch, that runs from a saddle valve or dedicated shutoff under the sink to the back of the refrigerator. These tubes degrade from heat and vibration. When they fail, they often do so while the homeowner is at work, and the line is under full household water pressure. A failed ice line can release four to six gallons of water per minute, which means a 30-minute leak puts 120 to 180 gallons of water onto a Miami kitchen floor, then into the base cabinets, then into the subfloor.
- Check: Ice line for kinks, brittleness, or signs of abrasion where it touches the floor or wall. Sink base interior for moisture or water stains. Dishwasher door seal for gaps or cracks. Floor in front of the dishwasher for warping or softness, which indicates a leak behind the unit.
- Meter readings: Base of the wall behind the refrigerator. Inside the sink cabinet, on the floor and back wall. In front of the dishwasher, at the joint where the floor meets the cabinet base.
Bathrooms
Bathrooms in Miami fail at the grout lines and the toilet wax ring before anything else. Miami’s humidity means grout never fully dries between uses in a heavily used bathroom, so cracks and pinholes develop over time. Once water gets behind the tile, the cement board and drywall behind it begin to soften, and you won’t see it until the tile starts to move or efflorescence, a white chalky mineral deposit, appears on the grout surface. The toilet wax ring is the seal between the toilet base and the drain flange. A failing ring allows water and sewer gas to escape along the floor, and the water wicks into the subfloor silently.
- Check: All grout lines for cracks or missing grout, especially where the tub meets the tile and where the tile meets the floor. Toilet base for movement when you press your knee against it, which indicates a failing wax ring. Shower door seals and caulk lines for gaps. Vanity cabinet floor for water stains under the shutoff valves.
- Meter readings: Floor around the toilet base, especially at the back where you can’t see. Wall behind and beside the shower head. Ceiling below a second-floor bathroom, if accessible.
Laundry Room
The laundry room is where Miami water damage goes to hide. The washing machine is usually tucked into a tight space, the hoses are out of sight, and the floor drain, if there is one, often isn’t connected to a drain line at all in older homes. Rubber washing machine hoses are rated for about five years, but in Miami’s heat and humidity, they can fail in three. The failure usually happens at the crimped fitting where the rubber meets the metal connector. A burst hose with the machine off can leak as fast as the household water pressure allows, and the shutoff valve behind the machine is often stiff from years of disuse exactly when you need it to turn freely.
- Check: Hoses for bulges, cracks, or rust at the metal fittings. Braided stainless steel hoses for kinks or loose connections. Shutoff valves for free movement. Floor and wall behind the machine for any sign of moisture or mold. The drain pan under the machine, if one exists, for standing water.
- Meter readings: Drywall directly behind the washing machine, as high as you can reach. Floor in front of the machine. Wall on the shared side if the laundry room is adjacent to a bedroom or garage.
Water Heater Closet (Indoor or Garage)
Water heaters in Miami are usually in the garage, a utility closet, or sometimes an interior hallway closet. Each location has its own failure pattern. Garage units are exposed to ambient heat and humidity, which accelerates corrosion on the tank exterior and the fittings. Interior closet units often lack a drain pan or proper overflow line, so when the tank eventually fails, which all tanks do, the water runs directly onto the floor and into the walls. A standard 40-gallon tank holds 40 gallons of water that releases over the course of minutes or hours depending on the failure mode. A catastrophic failure, where the tank splits open, dumps the full 40 gallons in under 10 minutes.
- Check: Floor under and around the tank for rust flakes, pooling, or discolored concrete. The cold water inlet and hot water outlet connections for mineral buildup. The T&P valve for proper operation. The drain pan and overflow line for clear drainage. The tank exterior for signs of rust, especially at the base where the steel meets the metal jacket.
- Meter readings: Drywall or wood framing adjacent to the water heater closet, since heat and moisture from the tank can mask early leak signs. Floor extending four feet from the tank, where water may have run unnoticed.
Exterior Walls and Windows
Miami’s rain doesn’t fall straight down half the time. Wind-driven rain pushes water horizontally against exterior walls, and if the stucco has hairline cracks or the window flashing is failing, that water finds its way inside. On CBS homes, the damage usually shows first at the base of the wall inside, where water that entered higher up has run down the interior cavity and soaked the bottom plate. On wood-frame homes, the damage can appear anywhere along the wall, and it’s often first noticed as bubbling paint or a musty smell rather than visible water.
- Check: Stucco exterior for hairline cracks longer than six inches or wider than 1/16 inch. Window frames and sills for gaps in the caulk line. Weather stripping around exterior doors for proper seal. Interior drywall under windows for softness or staining. Baseboards for separation from the wall, which indicates swelling from moisture behind.
- Meter readings: Drywall at the base of every exterior wall, particularly on the east and southeast sides, which take the brunt of Miami’s summer storms. Windowsill areas inside. The wall area below any second-floor balcony or roof edge detail, where water can track down inside the wall cavity.
High-Rise Condo Units
Condo owners in Miami face a specific challenge: your unit’s plumbing is connected to your neighbors’, and a failure above you or next to you becomes your problem. Most condo associations maintain the common plumbing lines, but the fixtures, flexible supply lines, and appliances inside your unit are yours. The most common condo water damage we see in Miami buildings comes from three sources: AC condensate overflow pans that crack or corrupt, water heater tanks installed inside a hallway closet with no overflow protection, and the flexible hoses behind the washing machine, which in a high-rise can release water that damages the units below you.
- Check: AC condensate pan for cracks or debris. The pan’s drain line for clear flow. Floor in the utility closet for any moisture. The water heater’s pressure relief line for proper routing, it should terminate outside or in a drain, not on the floor. All visible pipe connections under sinks and behind toilets for signs of seepage.
- Meter readings: Shared wall between your unit and the neighbors on both sides, especially in the bathrooms and kitchen. Ceiling under any upstairs bathroom, if you’re on a lower floor. Baseboards along all exterior windows and balcony doors.
The Three Appliance Connections That Fail Most in Miami
If you do nothing else from this guide, check these three connections twice a year. They account for a disproportionate share of Miami residential water claims, not because the parts are inherently fragile, but because they’re invisible, and invisible failures become expensive failures.
1. Washing Machine Hoses
The part to inspect is the crimped fitting where the rubber hose meets the brass connector at either end. This is where the rubber ages fastest, because it’s under constant pressure and flex. In Miami’s garage and laundry room heat, the rubber degrades faster than the manufacturer’s rating. If the hose is more than five years old, replace it with a braided stainless steel hose, which has a rubber core reinforced by a metal braid and typically lasts twice as long. Cost: $15 to $30 per pair. The repair it prevents averages $4,000 to $9,000 in Miami.
2. Refrigerator Ice Maker Line
The part to inspect is the plastic supply line itself, specifically where it bends behind the refrigerator and where it passes through any hole in the cabinet. Plastic lines become brittle from heat exposure and vibration from the refrigerator compressor. The bend point is where they crack. If you have a plastic line, consider replacing it with a braided stainless steel icemaker line, which costs about $20 and takes 15 minutes to install. If you’re not comfortable doing that, ask a plumber or handyman to do it the next time you have one out for anything else. It’s a cheap add-on that eliminates one of Miami’s most common slow leak sources.
3. Water Heater Cold Water Inlet
The part to inspect is the dielectric union or hex nipple at the top of the tank where the cold water pipe enters. This fitting is where the tank’s heat meets the incoming cold water, and it’s where electrolysis, the chemical reaction between dissimilar metals, causes corrosion. Look for white, green, or rust-colored deposits around the threads. If you see any, the connection is weeping, and the leak will only get worse. A plumber can replace the fitting and inspect the tank’s anode rod at the same time. The anode rod is a sacrificial metal rod inside the tank that attracts corrosion, and replacing it every four to five years extends the tank’s life and prevents the tank failure that causes most water heater floods.
Seasonal Timing: What to Check When
Miami has two real seasons: wet and dry. The wet season runs from May through October, peaking with hurricane season from June through November. The dry season runs from November through April. Each season stresses your home differently, and your maintenance timing should reflect that.
Before Hurricane Season (Early June)
This is your most important check of the year. Hurricane season brings sustained wind-driven rain, and your home’s exterior water barriers will be tested. Focus on:
- Stucco cracks and exterior penetrations: Any pipe, wire, or vent that passes through the exterior wall is a potential water entry point. Check the caulk around each one and reseal anything that’s cracking or peeling. Pay particular attention to AC line sets, the copper pipes that run from the outside condenser to the indoor unit.
- Roof and gutter condition: You may not be able to inspect the roof itself safely, but you can check that gutters and downspouts are clear and that water flows away from the foundation. In Miami’s flat-roof concrete homes, check that roof drains are clear of debris, because a clogged roof drain during a summer storm sends water over the parapet and down the inside of the walls.
- All appliance hoses and fittings: The checks described above should all be done before June 1, so that any failing component is replaced before the season of maximum water pressure on your home begins.
After Hurricane Season (November)
This check is about assessing what the wet season did to your home and preparing for the dry season’s different risks. Focus on:
- Water intrusion indicators: Look for new water stains on ceilings, new musty smells, or new warping around windows and doors. These indicate that water entered during a storm and has been trapped inside the wall or ceiling for months. By November, mold is well established if it’s going to be.
- Irrigation system adjustment: As the dry season begins, Miami homeowners reactivate their irrigation systems. Check that no sprinkler heads are spraying against the house. Over the course of a dry season, a misdirected sprinkler that hits the same spot on a stucco wall every day causes the same kind of slow water intrusion as a plumbing leak.
- Water heater and interior plumbing: The dry season is when Miami’s water heater tanks and interior plumbing see their highest stress because water pressure in the municipal system increases as usage drops. Check all visible fittings and valves while no one is using water in the house, then run a faucet and check them again. Pressure-related failures often show up at static pressure, not during use.
Dry Season Focus: AC Condensate Lines
Miami’s dry season is when AC systems run hardest, and that’s when condensate overflow problems peak. Your AC removes humidity from the air, and that moisture drains out through a condensate line, usually a 3/4-inch PVC pipe. In Miami’s humid climate, algae and sludge build up inside this pipe year-round, but the problem becomes acute during the dry season when the system runs more often and produces more condensate. If the line is partially clogged, the water backs up and either trips the unit’s float switch or overflows the drain pan in the attic. A clogged condensate line can produce several gallons of water per day onto your ceiling drywall, and because most Miami attics are hot and poorly ventilated, the damage is well hidden until the ceiling shows it.
The fix is simple: pour a cup of white vinegar or hot water into the line at the access point near the air handler every three months, and have a professional flush the line once a year. This is the single highest-value maintenance item on this list in terms of dollars saved per minute spent. Our Miami restoration team sees preventable AC overflow damage year-round, and the homeowners are always surprised when we explain what caused it.
What to Document Now (And Why Your Insurance Claim Depends on It)
Insurance claims for water damage in Miami succeed or fail based on documentation, and the time to establish your documentation is before anything goes wrong. When you file a claim, the adjuster will ask for evidence that the damage was sudden and accidental, not the result of gradual deterioration or neglected maintenance. If you can show a dated log of your maintenance checks, with photos and moisture meter readings, you’ve already demonstrated two things: that you maintained the property responsibly, and that the damage was not foreseeable. That distinction matters.
Documentation also speeds up the process. If you have a clear record of what your drywall moisture readings were in June, and then you have visible water damage in August, the timeline is obvious. The claim moves faster. If you’ve already called a mold remediation specialist in Miami for a small issue and have their report, include that in your records. Insurance companies respond better to organized, documented homeowners because they know the claim is legitimate and the homeowner wasn’t negligent.
What to photograph and log:
- Every moisture meter reading you take, with a date and location written in the photo or notes app. Even normal readings. A normal reading from June is your baseline, and the baseline is what makes an abnormal reading in November meaningful.
- Every appliance, hose, and fitting you inspect, close-up and in context. Show that the washing machine hoses were visually inspected on a specific date. If one fails three weeks later, you have proof it was in acceptable condition at inspection.
- Every repair or replacement you make, with before, during, and after photos. Replaced a water heater? Document the old one’s condition, the new one’s model and serial number, and the invoice from the plumber. This establishes the equipment’s age and maintenance history.
- Your home’s exterior condition after major storms. Miami’s wind-driven rain can cause water damage that doesn’t show up for weeks. A photo of a clean, intact exterior taken after a storm is your evidence that the house was properly sealed entering the next storm.
- Any small leaks or water stains, even if you decide they’re not worth repairing right away. The failure to address a known problem becomes the denial reason on a later claim. Document that you noticed it, had it evaluated, and took whatever action you did. If you didn’t act, at least have a professional opinion on record.
The companies that work to fire and water damage restoration standards in Miami understand documentation because they work with insurance adjusters constantly. The homeowner who has a binder of dated photos and notes is rarely the one whose claim gets denied for “pre-existing condition.”
Common Mistakes to Avoid
- Only checking after a leak is visible. By the time water is visible on a Miami ceiling or wall, the water has been there for weeks or months. The point of this checklist is to catch it during the invisible stage, when the repair is a $3 washer instead of a $6,000 drywall tear-out and mold treatment.
- Assuming newer construction means lower risk. Miami’s newer high-rise condos have their own vulnerabilities, especially AC condensate overflows and shared plumbing stacks. A 2018 condo in Brickell is not automatically safer than a 1950s CBS home in Westchester. The failure points are different, not fewer.
- Ignoring small stains. A small brown water stain on a Miami ceiling is the visible tip of a much larger hidden problem. The water that created the stain pooled somewhere above the drywall, and that pooled water has been feeding mold growth. Stains don’t dry out and go away on their own in Miami’s humidity.
- Not testing the main shutoff valve. When a pipe bursts, the first thing you need to do is shut off the water to the house. If the valve is stuck or corroded, you lose precious minutes and thousands of dollars. Test it every six months and replace it if it doesn’t turn easily.
- Using rubber washing machine hoses past their rated life. Rubber hoses are rated for about five years, and Miami’s heat shortens that. If your hoses are older than five years or show any sign of cracking, bulging, or rust, replace them with braided stainless steel before they fail.
- Forgetting the AC condensate line. This is the most overlooked maintenance item in Miami water damage prevention, and it causes the most damage per dollar of prevention. A $100 annual flush prevents a $5,000 ceiling and insulation replacement.
- Not checking the floor behind and under appliances. Water from a slow appliance leak always runs to the lowest point, which is usually against the wall behind the machine. The visible floor in front stays dry while the wall behind soaks up water for months. Use the meter and flashlight to check what you can’t see from a standing position.
When to Call a Professional
Some situations call for more than a moisture meter and a flashlight. If you find active water flowing inside a wall or ceiling, shut off the water at the main valve and call a professional immediately. The same goes for any moisture meter reading above 15 percent on interior drywall, any visible mold growth larger than a few square feet, any water stain on a ceiling that’s been there longer than a week without drying, or any situation where water has contacted electrical wiring, insulation, or HVAC ductwork. These are the conditions where professional drying equipment, not fans and open windows, is the difference between a clean repair and a recurring mold problem. In Miami, the humidity works against DIY drying. What dries in two days in Denver takes two weeks in Miami, and in those two weeks, mold is growing. If you’re not sure whether you have a problem, Dryden Restoration Miami offers free estimates in Miami. Call (850) 533-8588 and a live person will answer, walk through what you’re seeing, and help you decide whether a professional visit is warranted. There’s no cost for the conversation and no pressure to schedule anything.
Frequently Asked Questions
A full check twice a year, in early June before hurricane season and in November after it ends, is the minimum for Miami homeowners. The AC condensate line should be flushed every three months, and visible water connections under sinks and behind toilets should get a quick visual check whenever you’re cleaning those areas. Total time investment: under two hours per year.
The first sign is usually a musty or earthy smell, often in a room or closet you don’t use daily. The second is bubbling or peeling paint, especially at the base of exterior walls or under windows. The third is a moisture meter reading that’s higher than the surrounding area, which is why a $30 meter is the cheapest insurance you’ll ever buy. Any of these three signals is worth investigating within a week, because Miami’s humidity accelerates everything that happens after water gets into a wall cavity.
Water damage restoration in Miami typically runs $2,500 to $8,000 for a moderate room-sized incident, and $10,000 to $25,000 or more for whole-home flooding or situations involving sewage or mold remediation. The exact cost depends on how much drywall, flooring, and insulation needs removal, how long the water was present, and whether mold has developed. These ranges are why prevention matters: replacing a $15 hose costs a fraction of even the smallest restoration job. For a specific quote on your situation, call (850) 533-8588. Estimates are free, and Dryden Restoration Miami puts the price in writing before any work starts.
Standard Florida homeowners policies cover sudden and accidental water damage, such as a burst pipe or an overflowing appliance, but not gradual leaks, neglect, or flooding from rising groundwater. Flood damage requires a separate flood insurance policy, usually through the National Flood Insurance Program. The distinction between sudden and gradual is the most common dispute in Miami water damage claims, which is why your dated maintenance log and photos are so valuable. They prove the event was sudden, not something you ignored for six months.
The most common sources, in order of frequency, are washing machine hose failures, AC condensate line overflows, water heater tank failures, refrigerator ice line breaks, and toilet wax ring failures. Hurricane-related water intrusion makes news when it happens, but these five plumbing failures cause more total water damage across Miami in a normal year. All five are either preventable or detectable early with the checks in this guide.
Mold begins to grow within 24 to 48 hours in Miami’s climate, where the ambient humidity provides ideal growing conditions. This is faster than the national average, and it means Miami homeowners have less time to respond than homeowners in drier regions. If you’ve had a water event, even a small one, the drying process needs to happen fast and thoroughly. Professional restoration equipment, such as the Dri-Eaz and Phoenix units our technicians use, removes moisture from the air and materials in a fraction of the time that household fans and open windows could achieve in this climate.
The Bottom Line
Miami water damage prevention is not complicated, but it requires consistency. The homes that avoid expensive restoration are the ones where someone walks through twice a year with a moisture meter, a flashlight, and a checklist, and the homes that end up with $14,000 restoration bills are the ones where no one looked behind the washing machine for five years. The tools cost under $50. The time commitment is under two hours a year. The difference is documented, dated evidence of a maintained property versus a repair that could have been caught early. Start with the checks in this guide, do them before hurricane season, and you’ll have done more than most Miami homeowners ever do to protect their largest investment. For additional tips, explore our more guides & resources.
Written by Carl Brandt, Owner at Dryden Restoration Miami, serving Miami since 2005.
See the difference
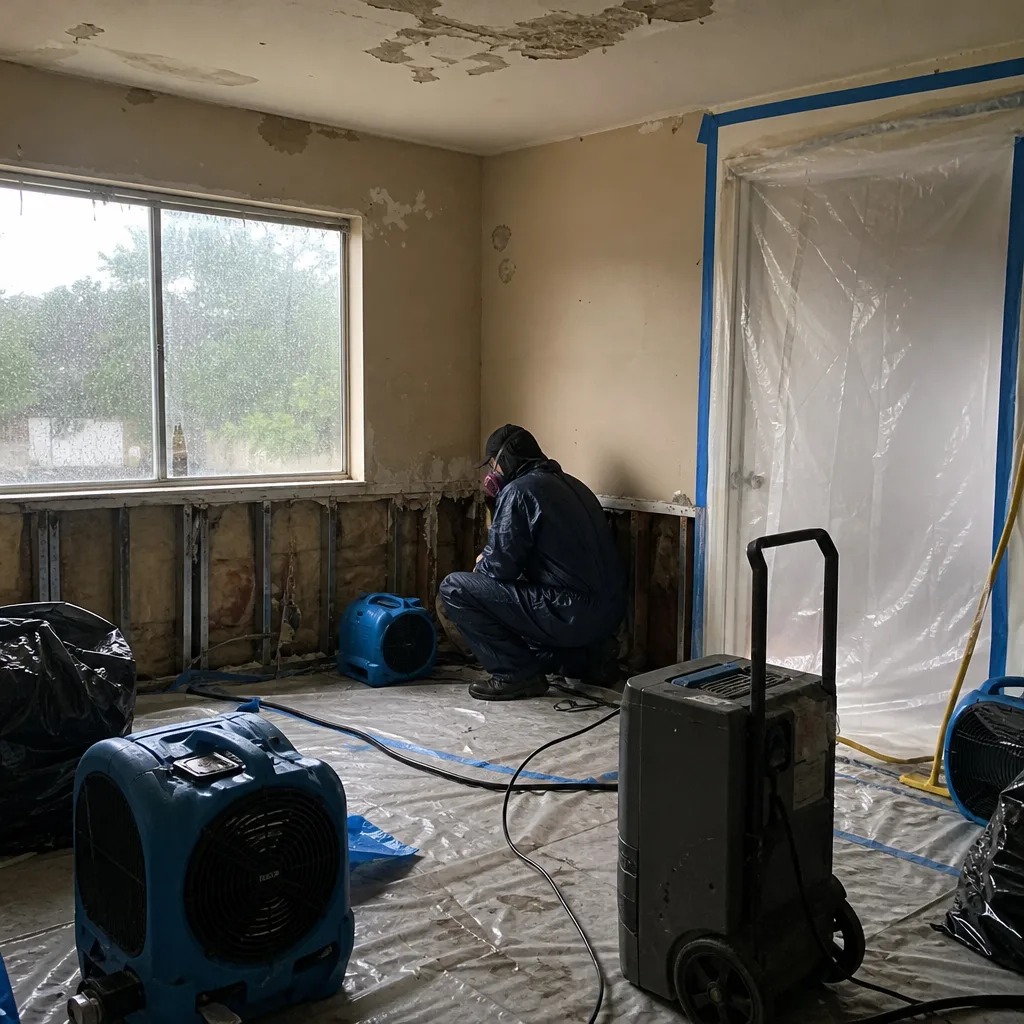 Before
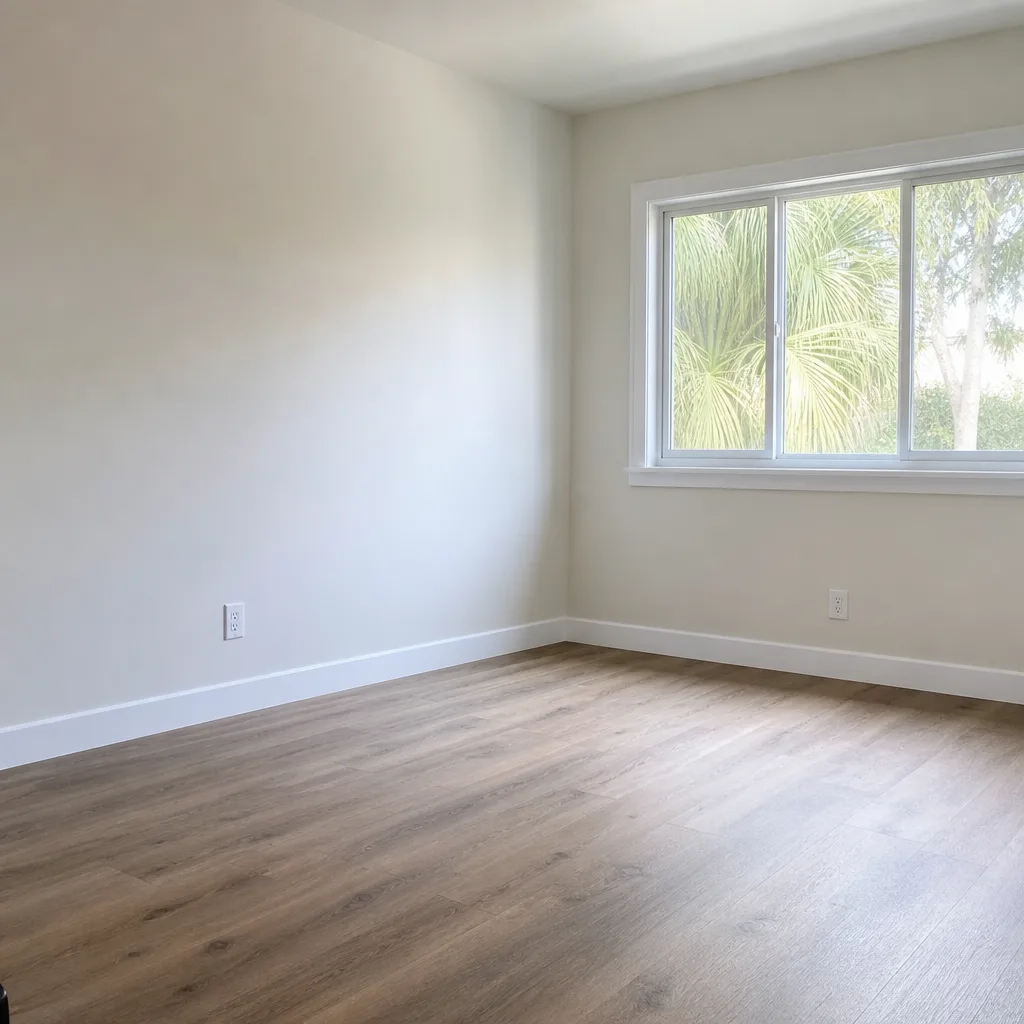 After
After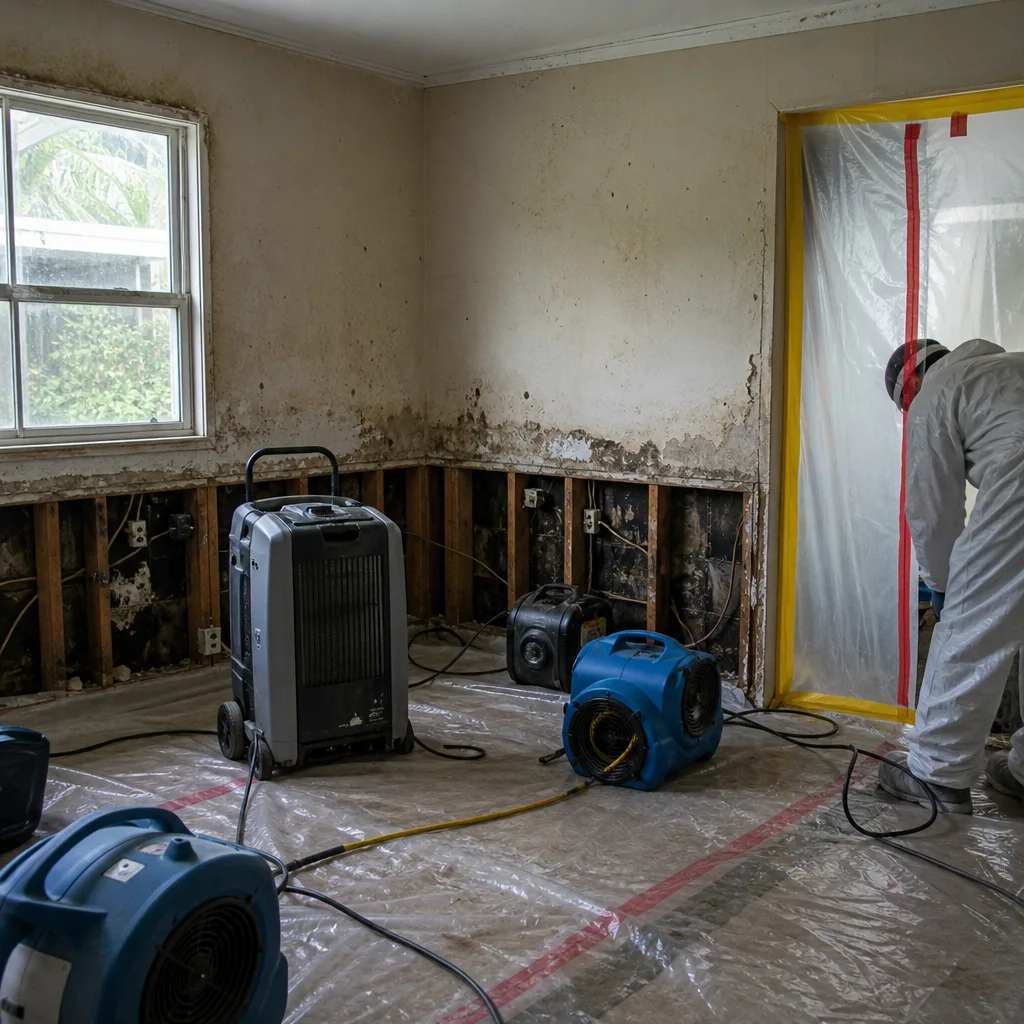 Before
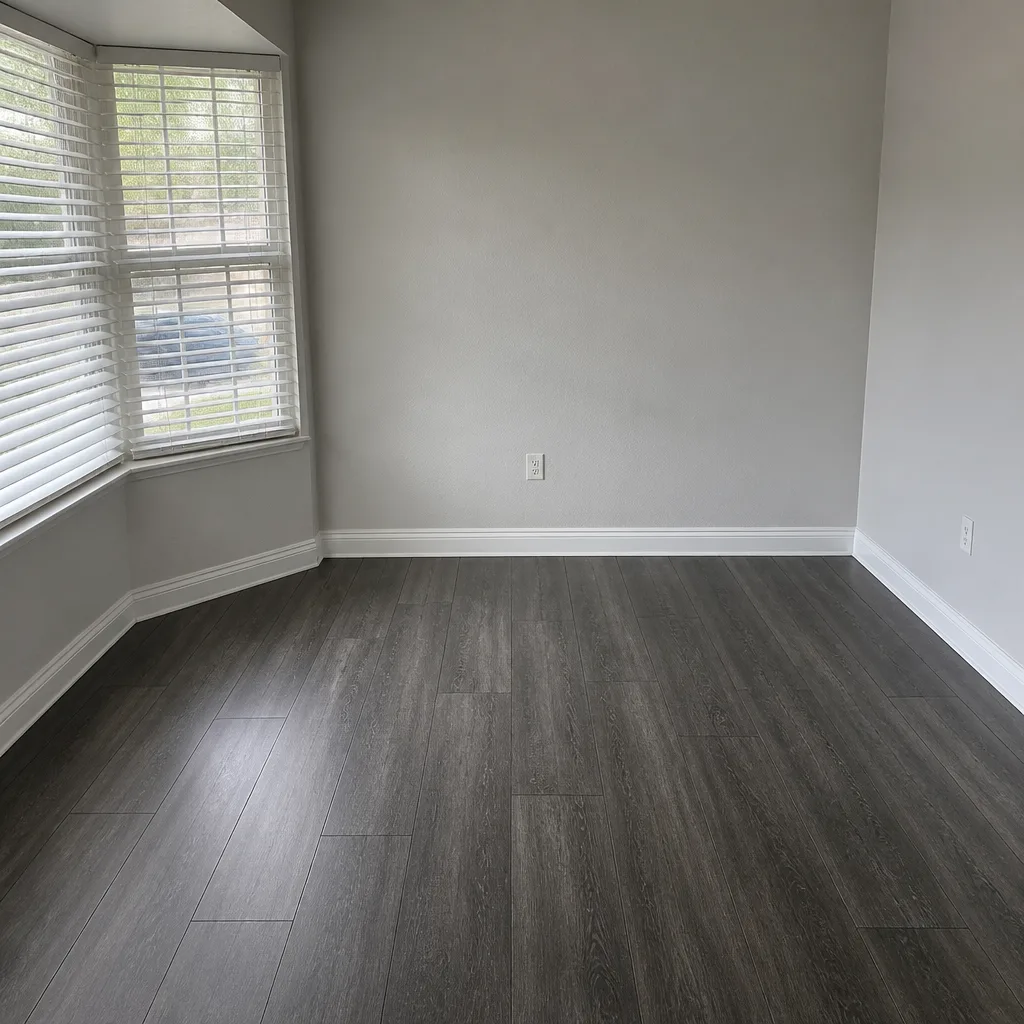 After
After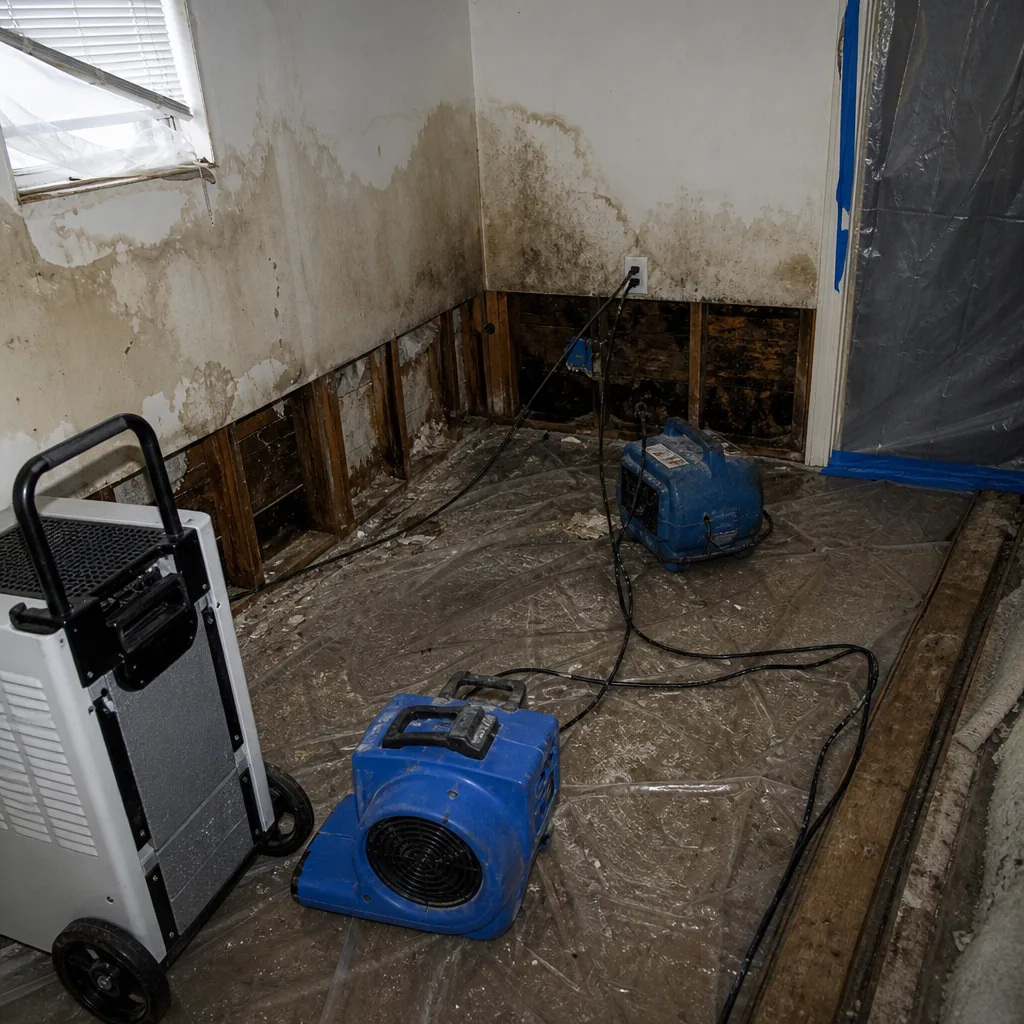 Before
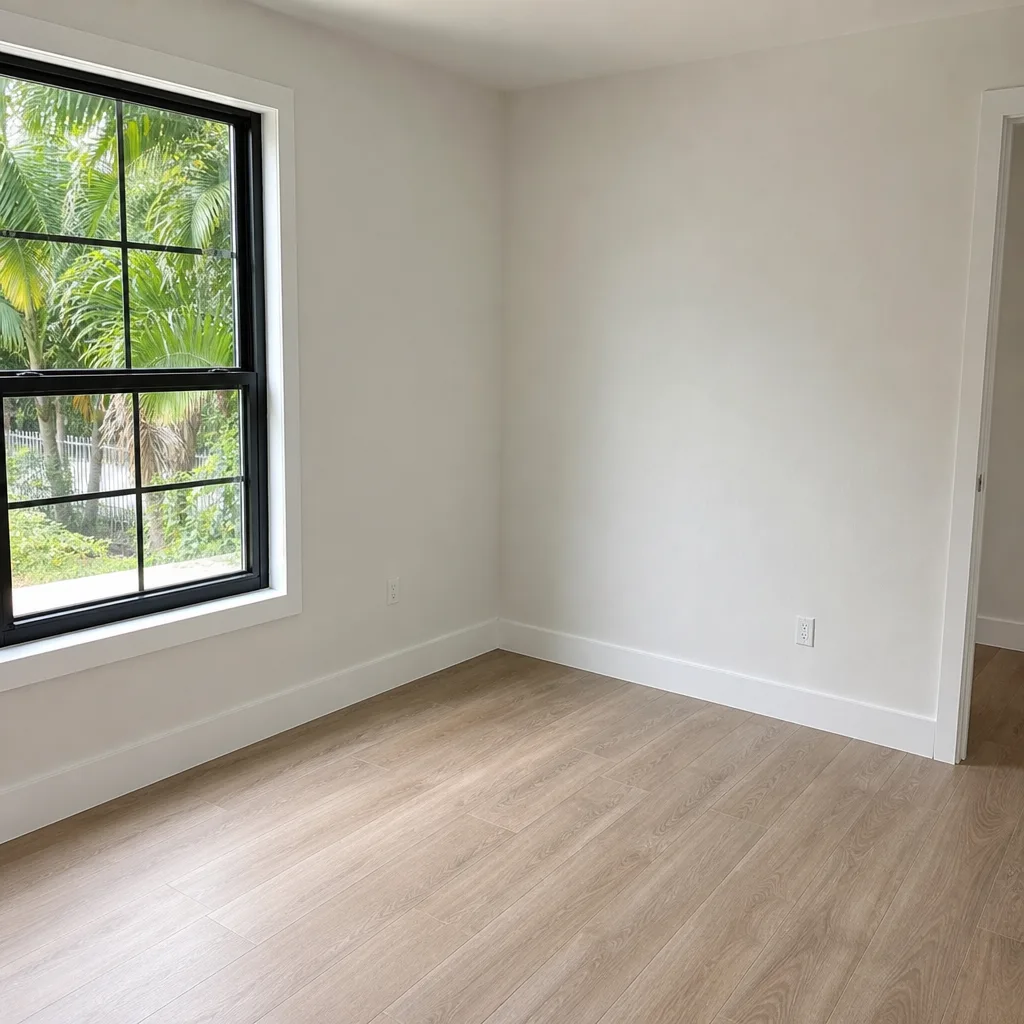 After
After